Did a lot of work today. Gonna try to spill it all out quickly, because wifey is sleeping next to me and I am about ready to join her...
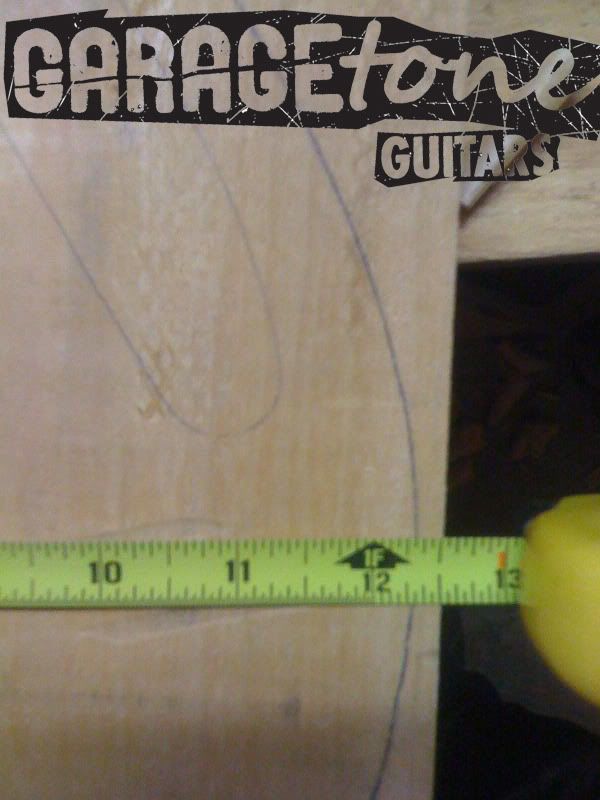
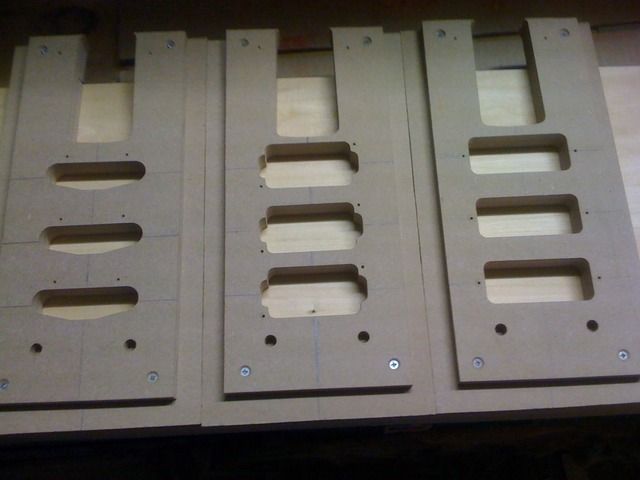
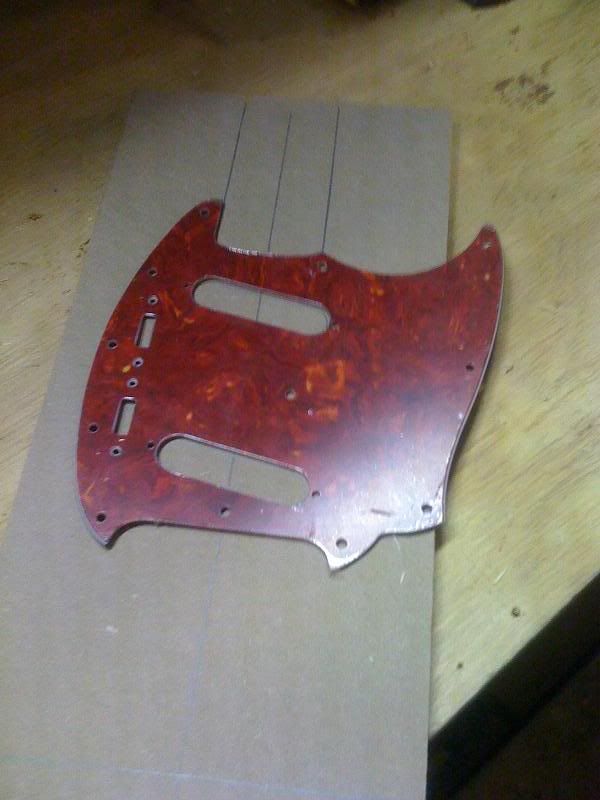
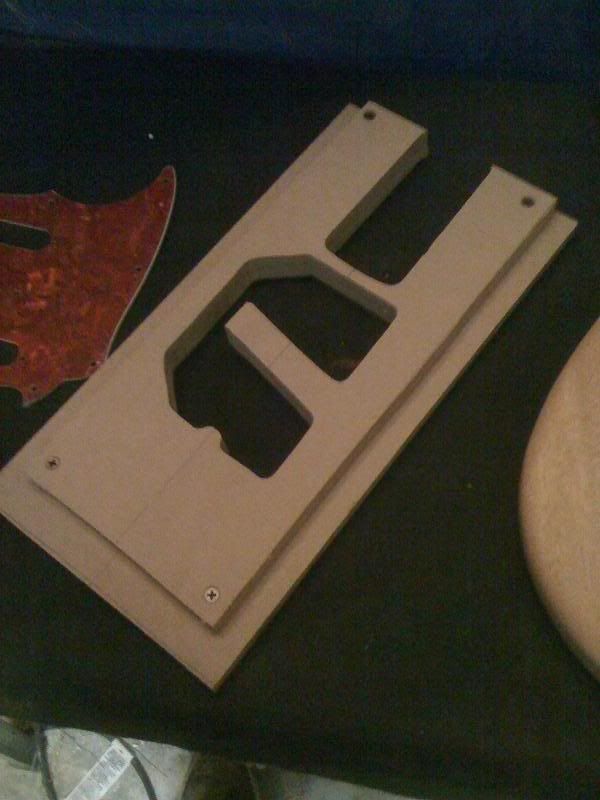
The first thing I got to today was the pickup/switch route template. I started by tracing a mustang pickguard (as far as I know it's almost identical to a Jag Stang, save for the bridge pickup) so I'd know where all the bits and pieces hang out.
Then I traced my stewmac humbucker template over each pickup location, in both straight and angled positions, and with the edge lined up to the single coil, and also with the center lined up with the single coil's. After I had a plethora of possible pickup placements traced out, I drew a nice big open route to cover all of them.

I made some pilot holes at the steeper corners of the template. This made the jig saw job infinitely faster and easier. I don't remember if I talked about my drill press yet, but it's by Central Machinery, and though I was lucky enough to get it on eBay for $19, I have seen identical models for under $100.
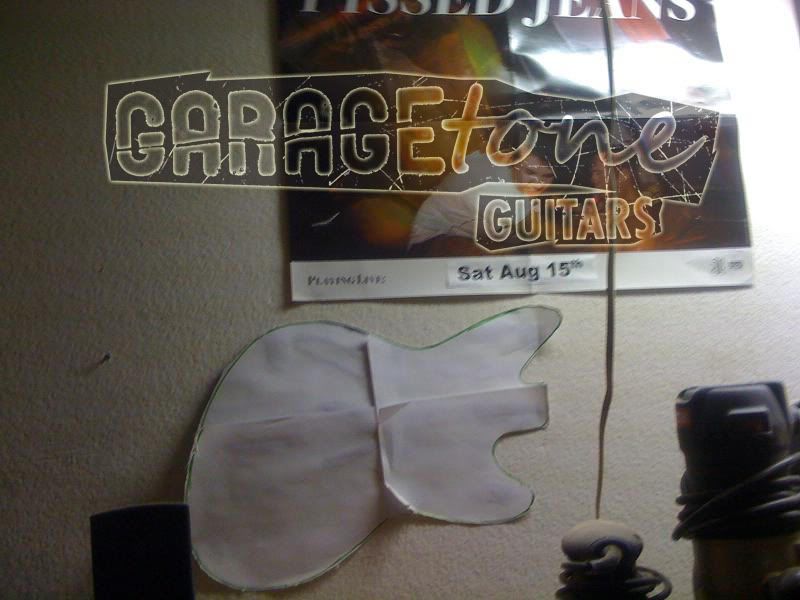
I was going to go with a copy of the shape Warmoth uses, but I think it'll be nice to have people recognize a Jag Stang that Garagetone did.... I ended up making the deal between the pickup spaces at an angle, and I took the bridge pickup route back closer to the bridge, with a small protrusion to catch the screw from the middle of the rear part of the pickguard.
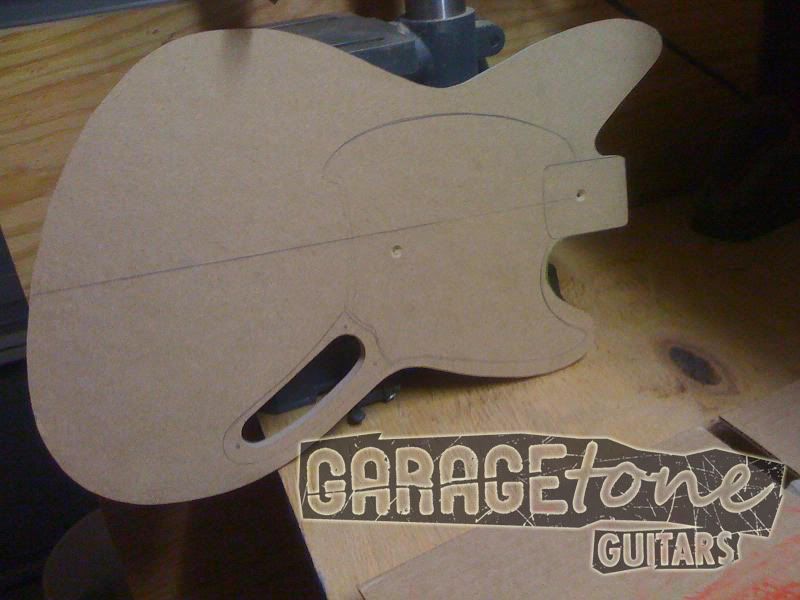
I just got close enough to the neck pocket, as I knew I'd use a previous template with a top bearing bit to make it perfect... But I took a little more time and effort to keep the rest of the lines straight. After I cut the one, I used countersunk screws to double up the 1/2" MDF boards, and cut the lower piece by using the upper piece as a template.
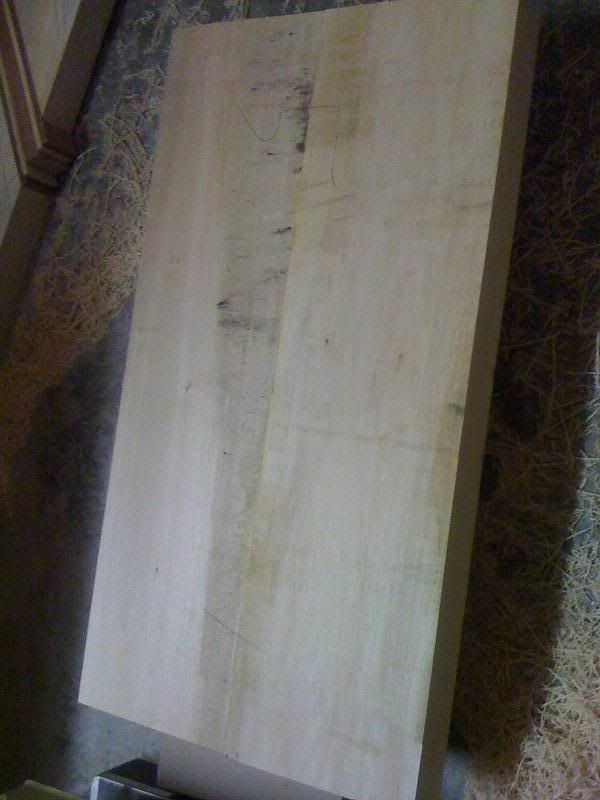
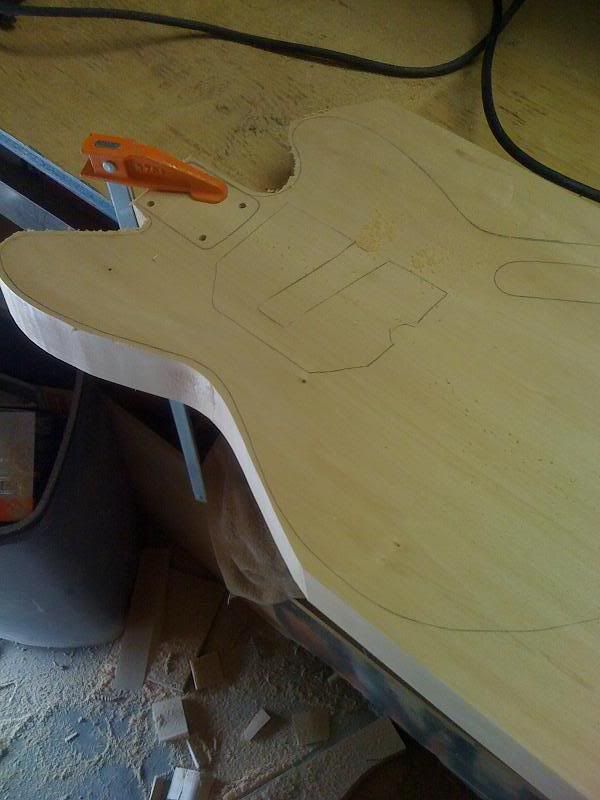
I set this thing aside while I got down to business with the blank. Well, after I traced it onto the blank, that is...

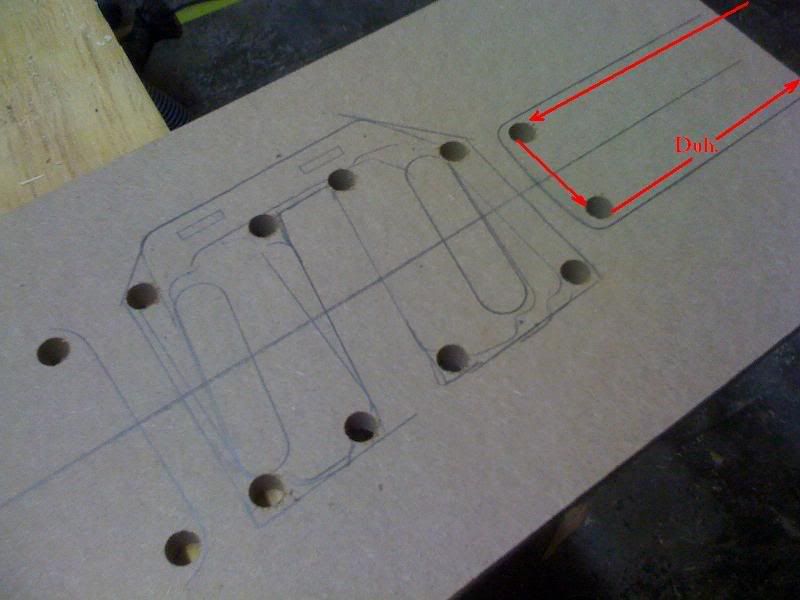
I know my template has fat horns. I'm going to correct it on this body, later...
I found it's easier to drill neck pocket holes FIRST. The blank is large and flat, and will sit on the drill press more easily than a wobbley body. I used a laser cut template for a Jazzmaster, lined up with the outline I made on this blank, to mark the holes. Double checked it with a neck plate before proceeding.

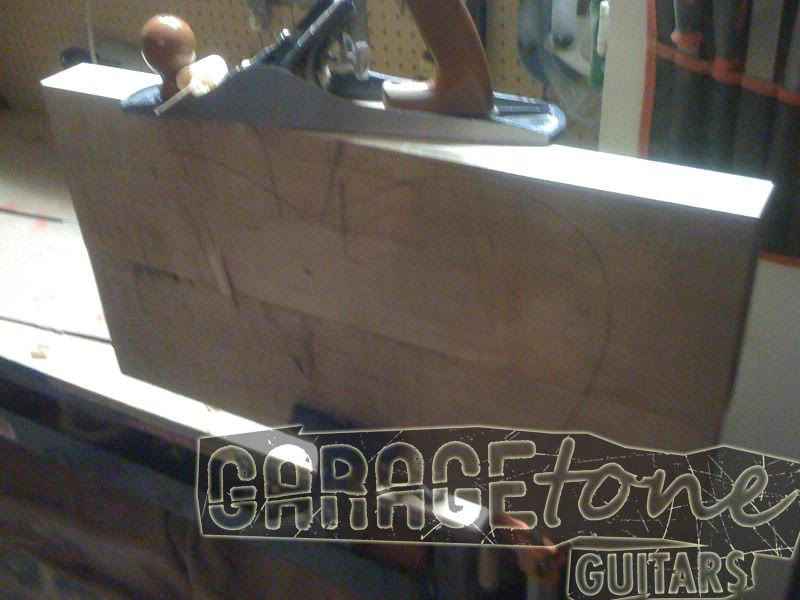
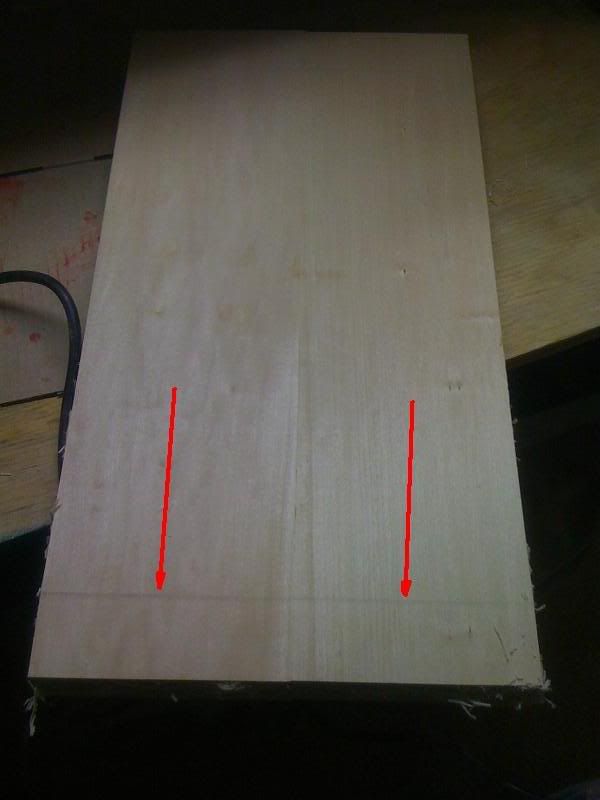
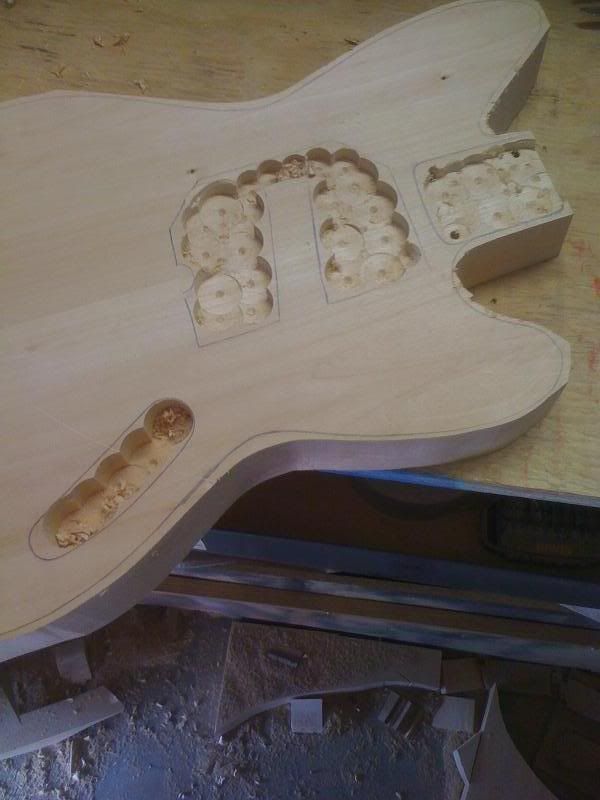
Next, I cut the body out with my jig saw. I used a "progressor something" blade by Bosch (I forget the exact blade model, but PM me if it's important to you) and this basswood melted like a slow-cooked roast. I cut NEAR the line, and will later sand TO the line. Jig saw's blades can travel left and right, and make cuts that may screw your whole build up... So make sure you don't force it to take an angle that it doesn't want to, and make sure to stay near the line, not to or on the line...
After the silhouette was cut, I used to jump straight to sanding the edges. Hold up. I USED to jump to securing the template to the body (using countersunk screws in the neck pocket and bridge pickup areas), then used my router to flush trim the edges to the template. I found though, that doing that can cause tear out (it is what it sounds like; your router bit tears out chunks of wood and makes little craters in the edge of your guitar. Unless you climb cut, but that takes practice and what not. I find it's easy to circumvent this step anyways.) This will also put a lot more wear on your $24.95 router bit... So what I'd rather do, is put the wear on a $1.05 sanding sleeve.
But before I get at it with the spindle sander, I like to deal with the innards. This makes the piece easier to hold, which is great because I've had bodies launch out of my hand and onto the ground before... My first step is to use Forstner bits (I got a set of 8 from Harbor Freight for $10... I've seen the bit's go for $10 A PIECE elsewhere) in my drill press to hog out the cavities. I mark the side of the bit with blue masking tape so I know not to go too deep.
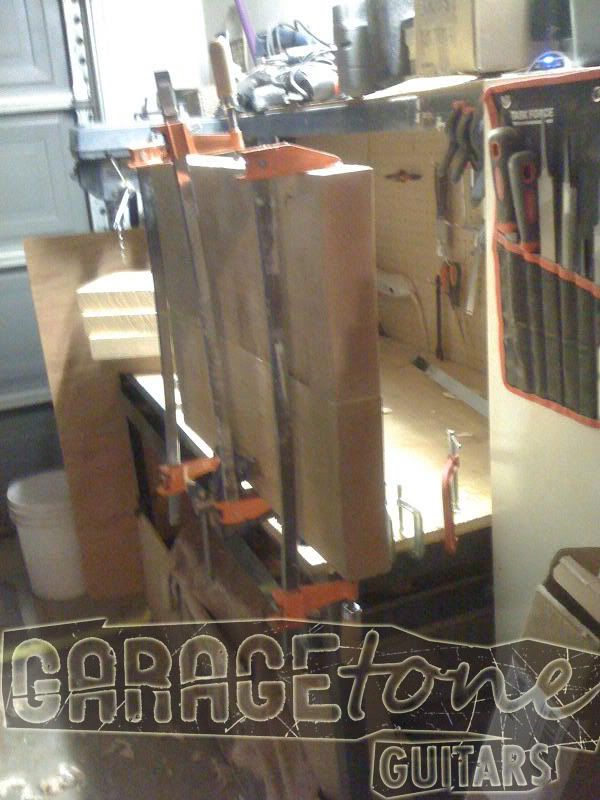
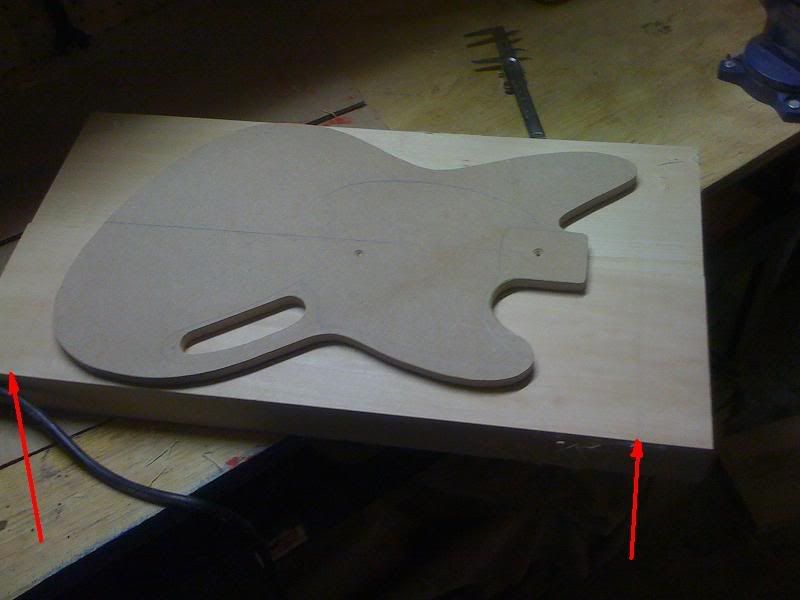
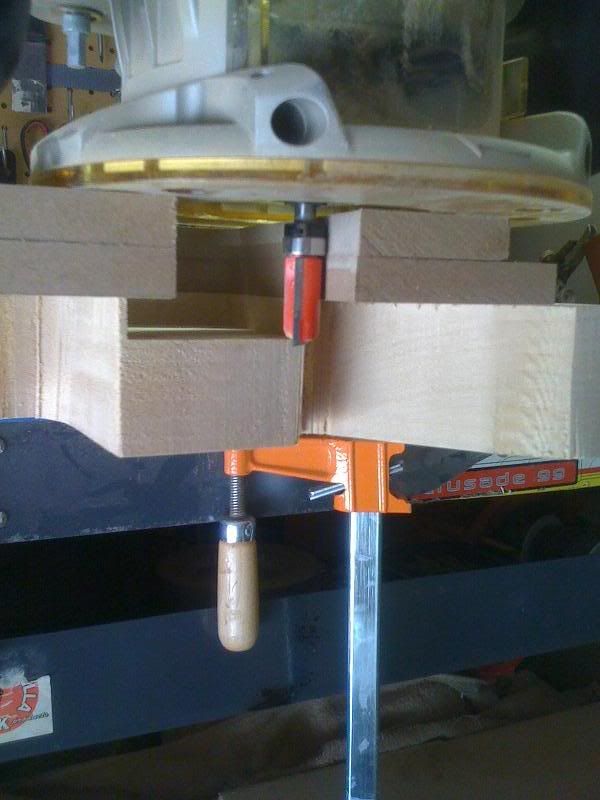
Next I take that template I just made and secure it with clamps, positioned with the center line over the joint in the body blank. I used to take out ALL the wood with the router bit, but learned really quickly that it wears out expensive bits, burns wood, and creates a HUGE mess. Now that the forstners have hogged out most of the cavities, there is maybe 1/8" to 1/4" og material to be (easily) removed by the router bit.
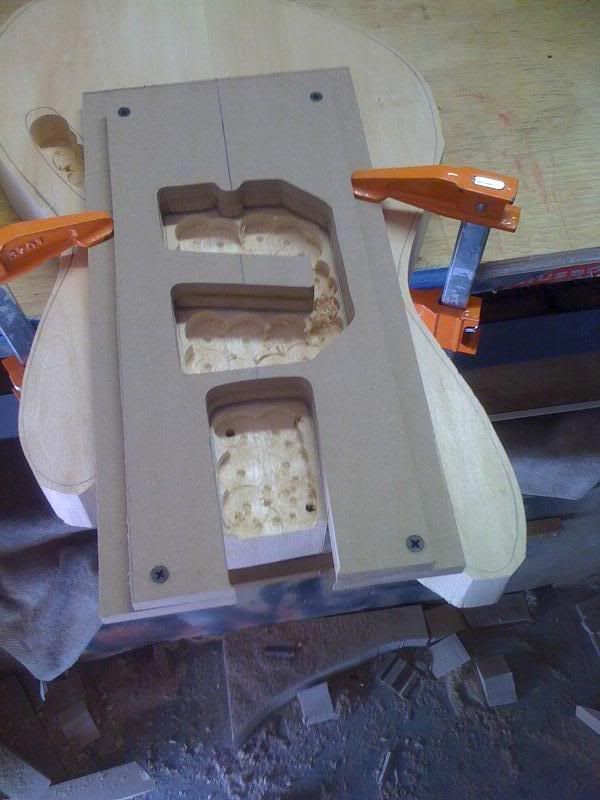
If you haven't done this before, maybe it'd be helpful for you to see exactly how this template set up works. I screwed up a body or 3 while learning this (trying to shim up 1/4" floppy templates because the cutting depth was too deep on the bit...). As long as the template doesn't move around, the cavity beneath will follow it's shape.
You want your neck pocket to be 5/8" deep.
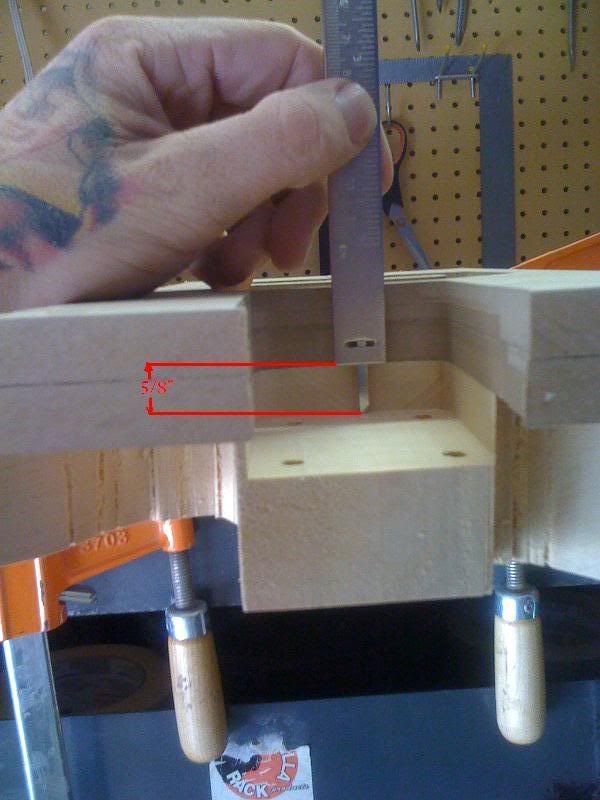
The same idea works for the 1 1/4" deep control route. But after the route becomes deep enough, the bearing will ride a previous cut, and not the template.

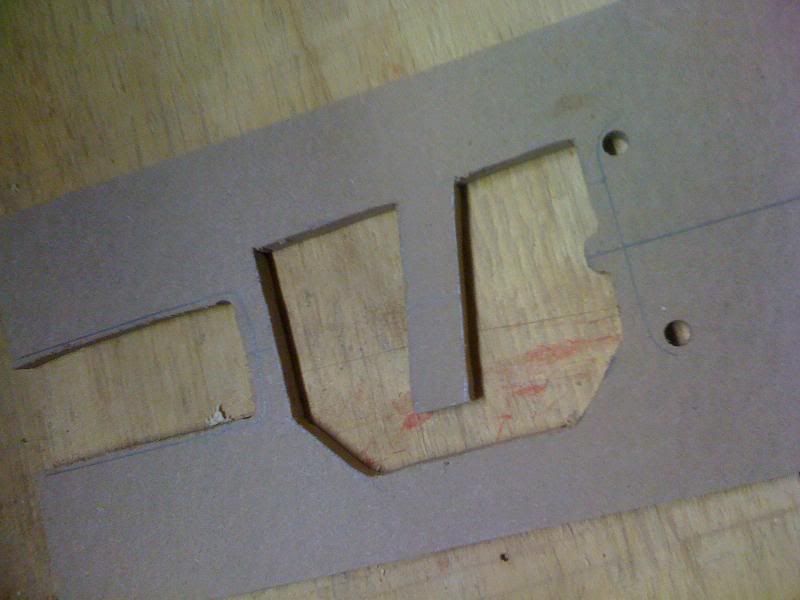
I tried to get tricky inside the pickup cavities. It's obviously freehanded (arrows signify forehead smack). At least it's INSIDE the guitar... Maybe I'll make unique templates for THIS, eventually.

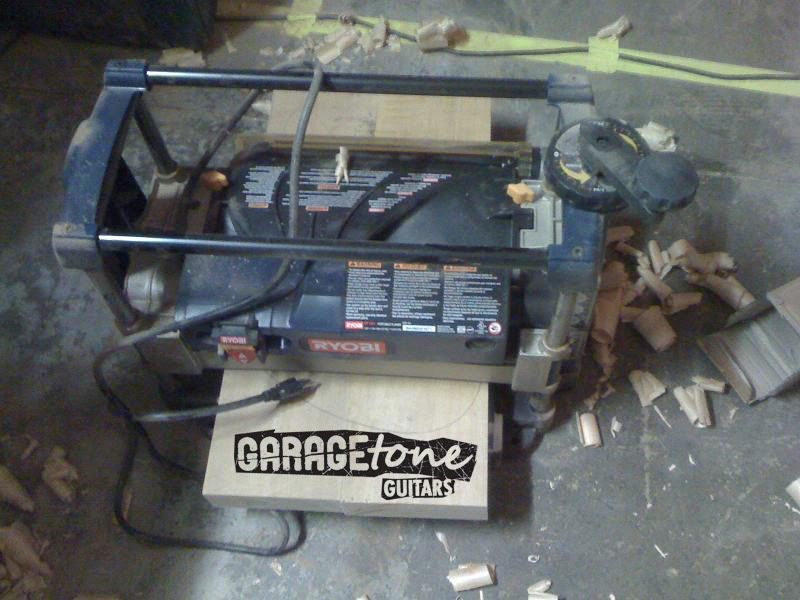
So that's what I did today (and made a bad ass router table for under $20). I also bought an HD camcorder that takes hi-res pics, so after this batch of photos, you'll be able to see the sawdust in the air, even 😀